

This article is part of the Bytebase tutorial series. Bytebase offers a web-based collaboration workspace to help DBAs and Developers manage the lifecycle of application database schemas. Articles of this series are aimed at helping you understand and make use of our functions better.
Check your roles
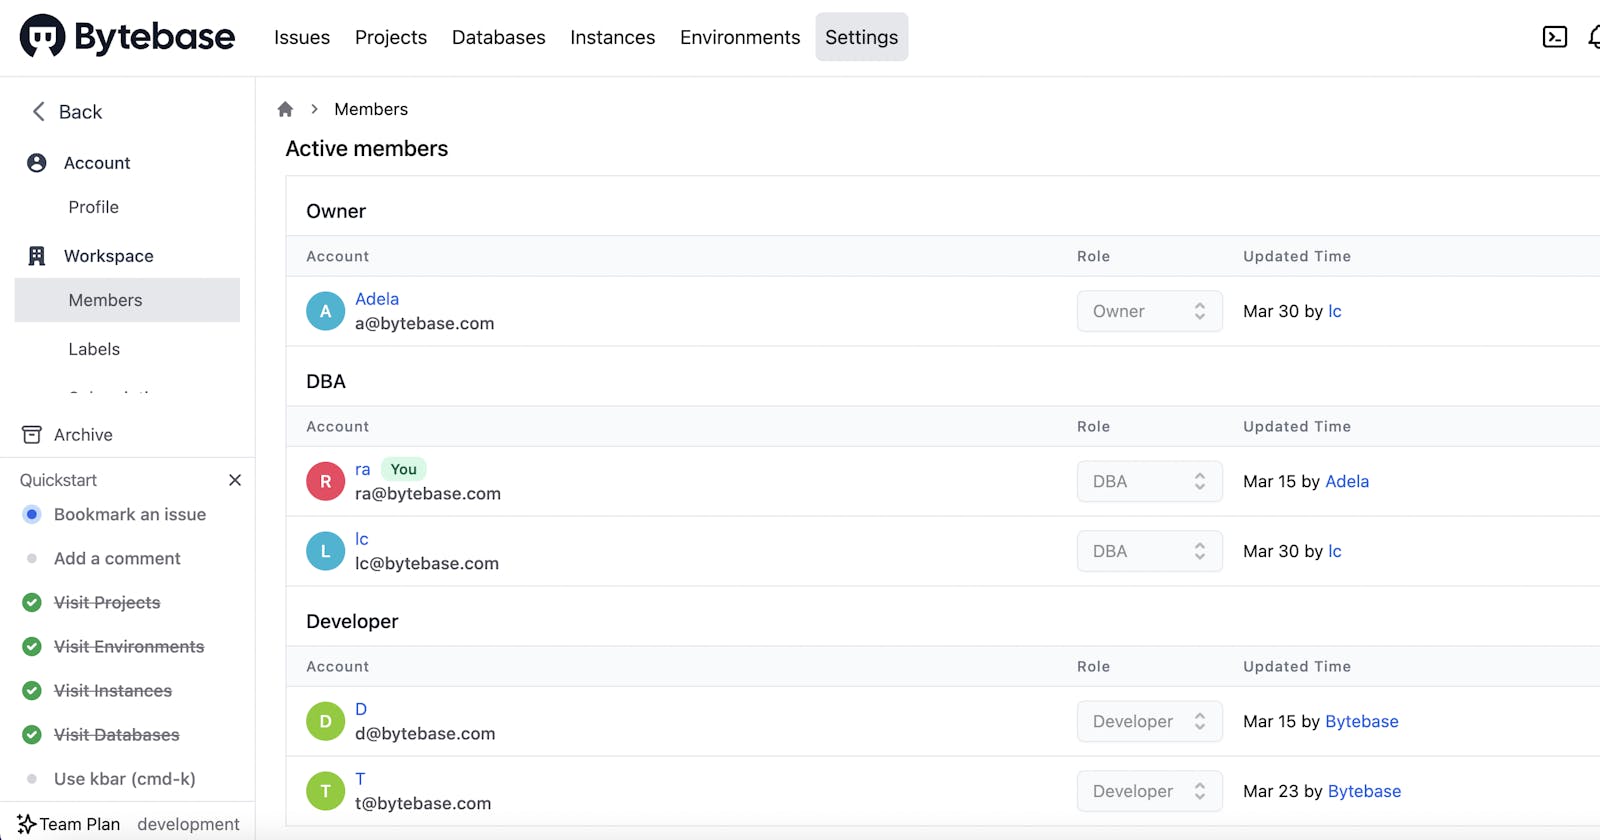
Bytebase provides role-based access control. You can check your role in Settings>Members when you log in and join your workspace.
A member of the workspace can be assigned as an owner, a DBA or a developer. Different roles have access to different sets of functions, and views of the workspace will change accordingly. Project-based access control is also available, which I will explain later.
For more details about roles, you can read our docs.
 Roles in the workspace
Configure the environment
Say, you are designated by leaders of your company to build an internal SaaS system for human resources. In this case, you can use Bytebase as a collaboration tool to manage databases of the system.
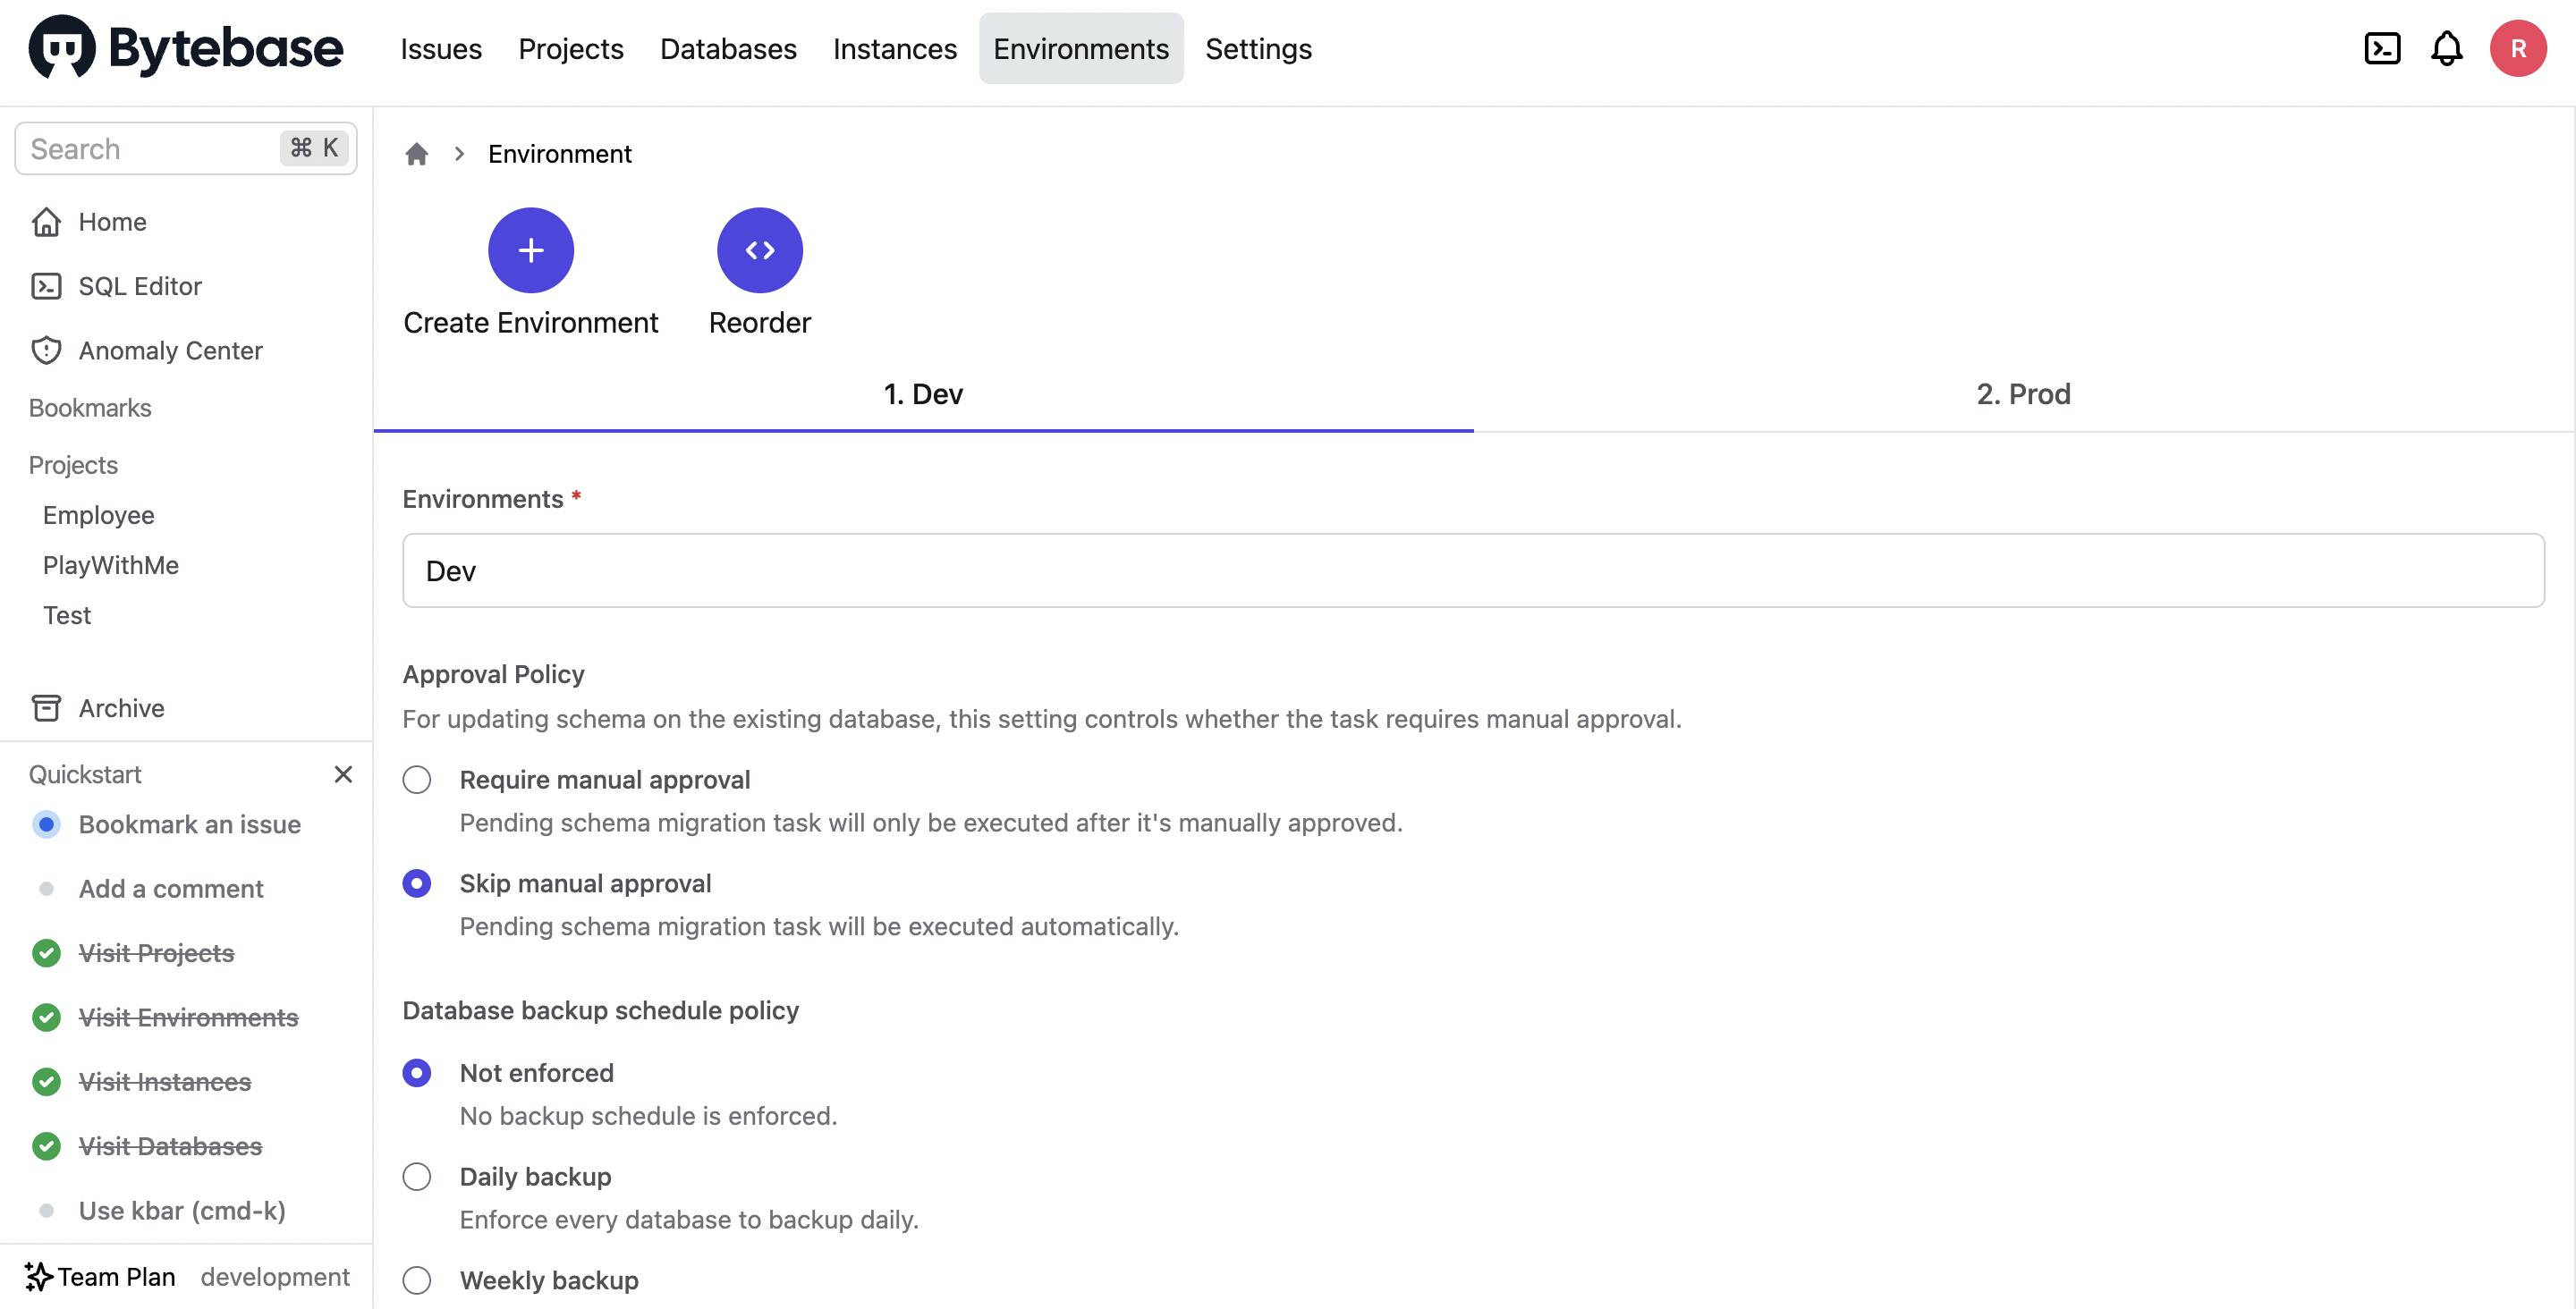
It's necessary to configure the environment before starting your first project. Click the "Environments" button to create new environments. Here I set up two environments of Dev and Prod, but you can create whatever you need.
 Create environments
You can change the policies for schema updating approval and database backup schedule when and after creating an environment.
Import existing database instances
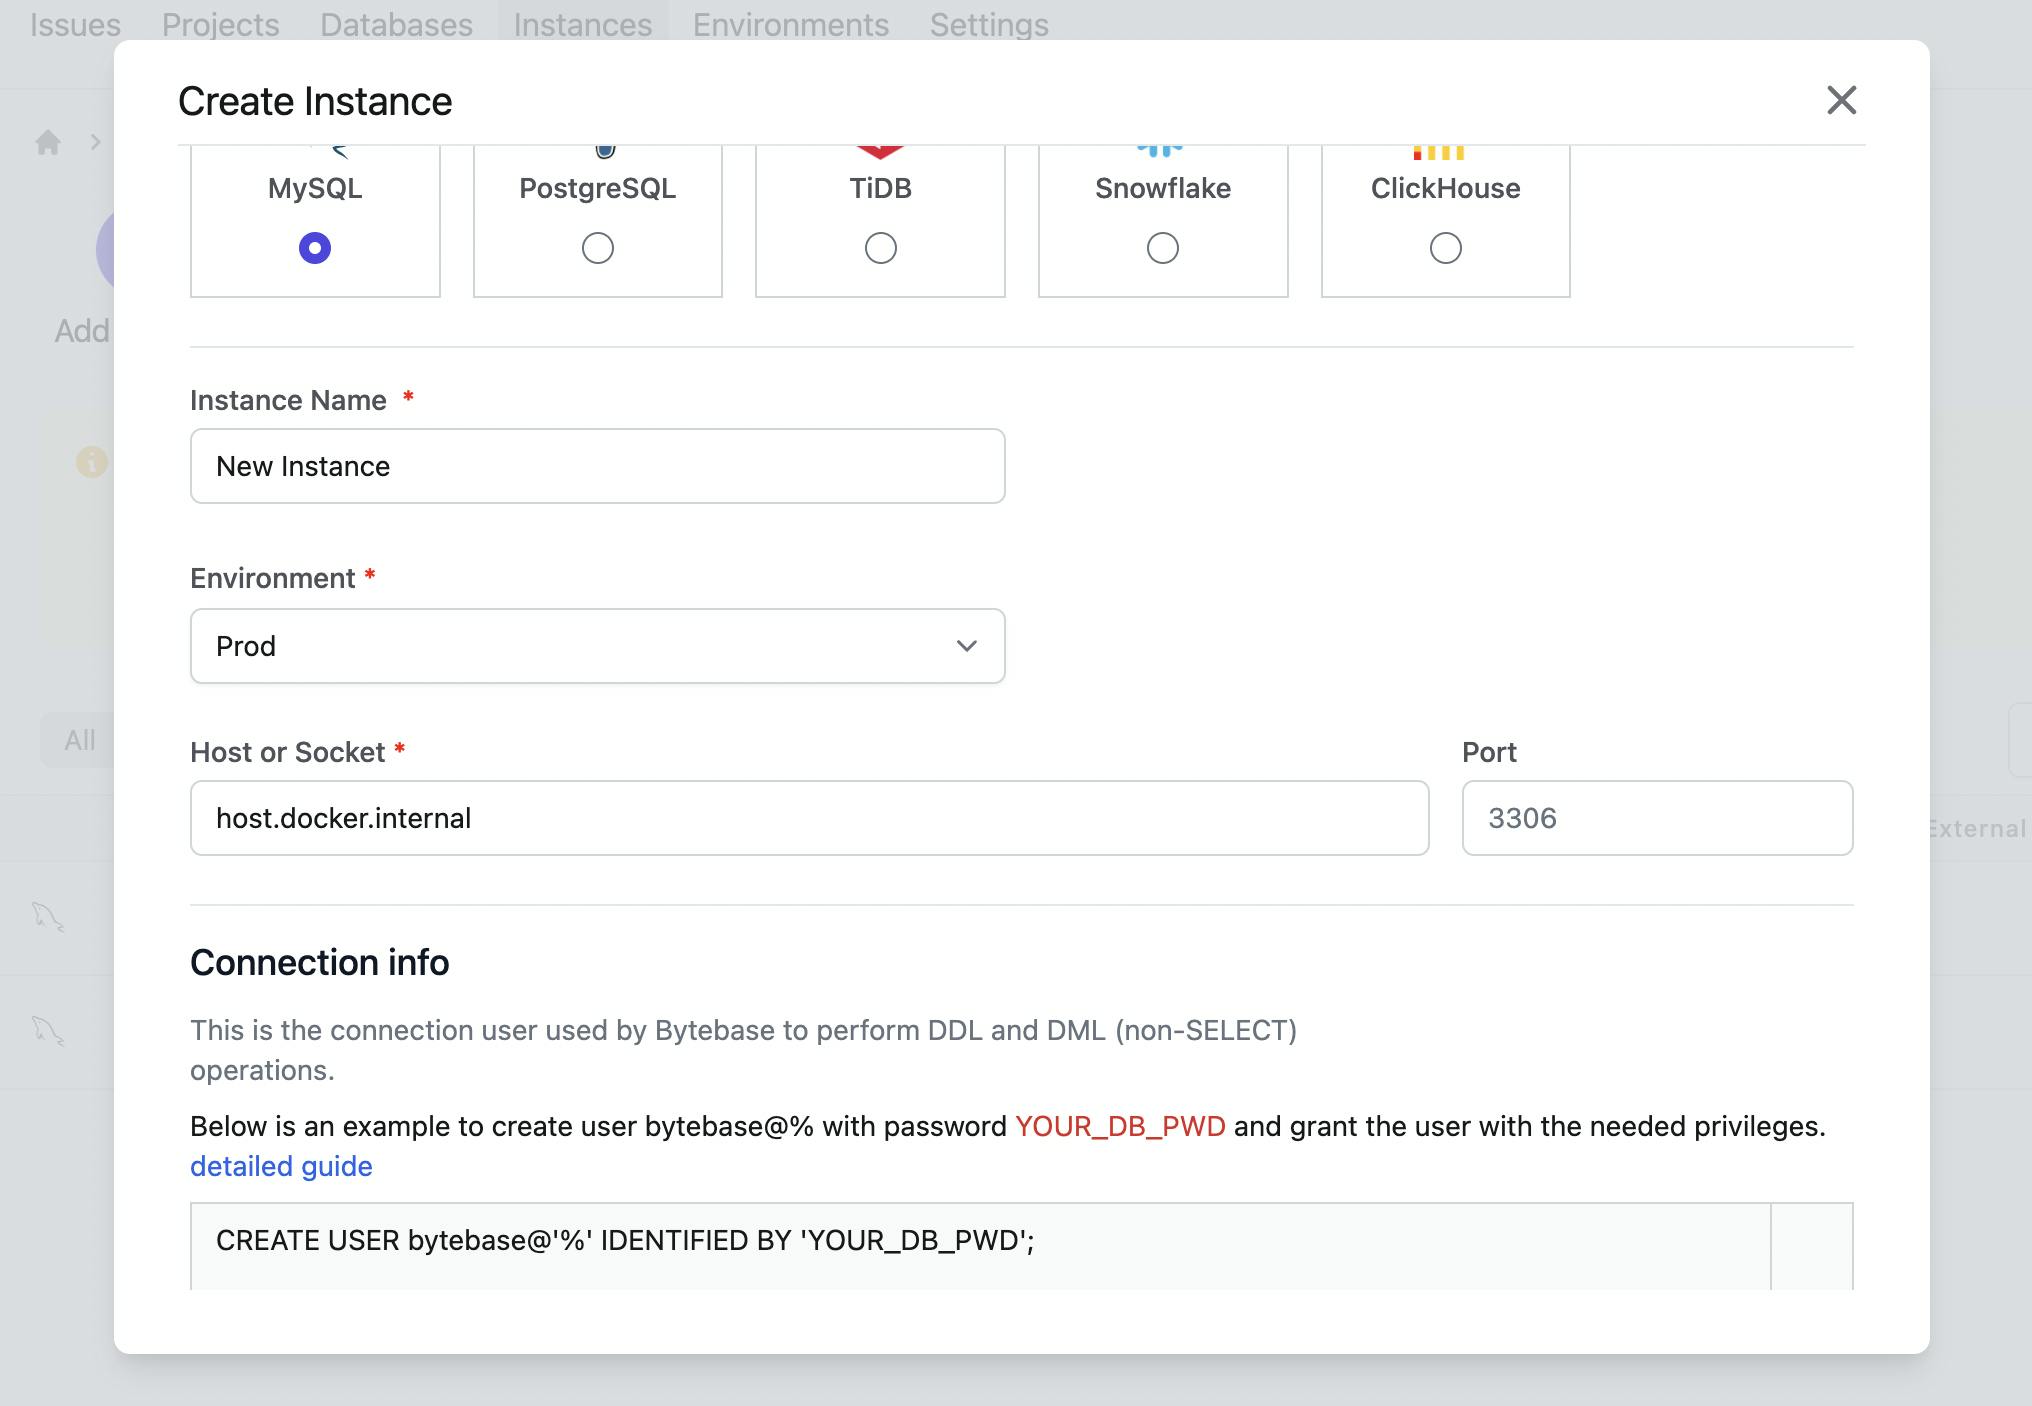
You already have a database, e.g. "Employee," in the SaaS system. In order to apply Bytebase, you need to import its instance first. Currently, Bytebase supports MySQL, PostgreSQL, RiDB, Snowflake, and ClickHouse.
Click "Instances" and then choose "Add Instances." Fill in the blanks as instructed to connect the instance.
 The instance is now shown in the panel. Click the instance name to check and fix its details. You can find all the databases within the instance below.
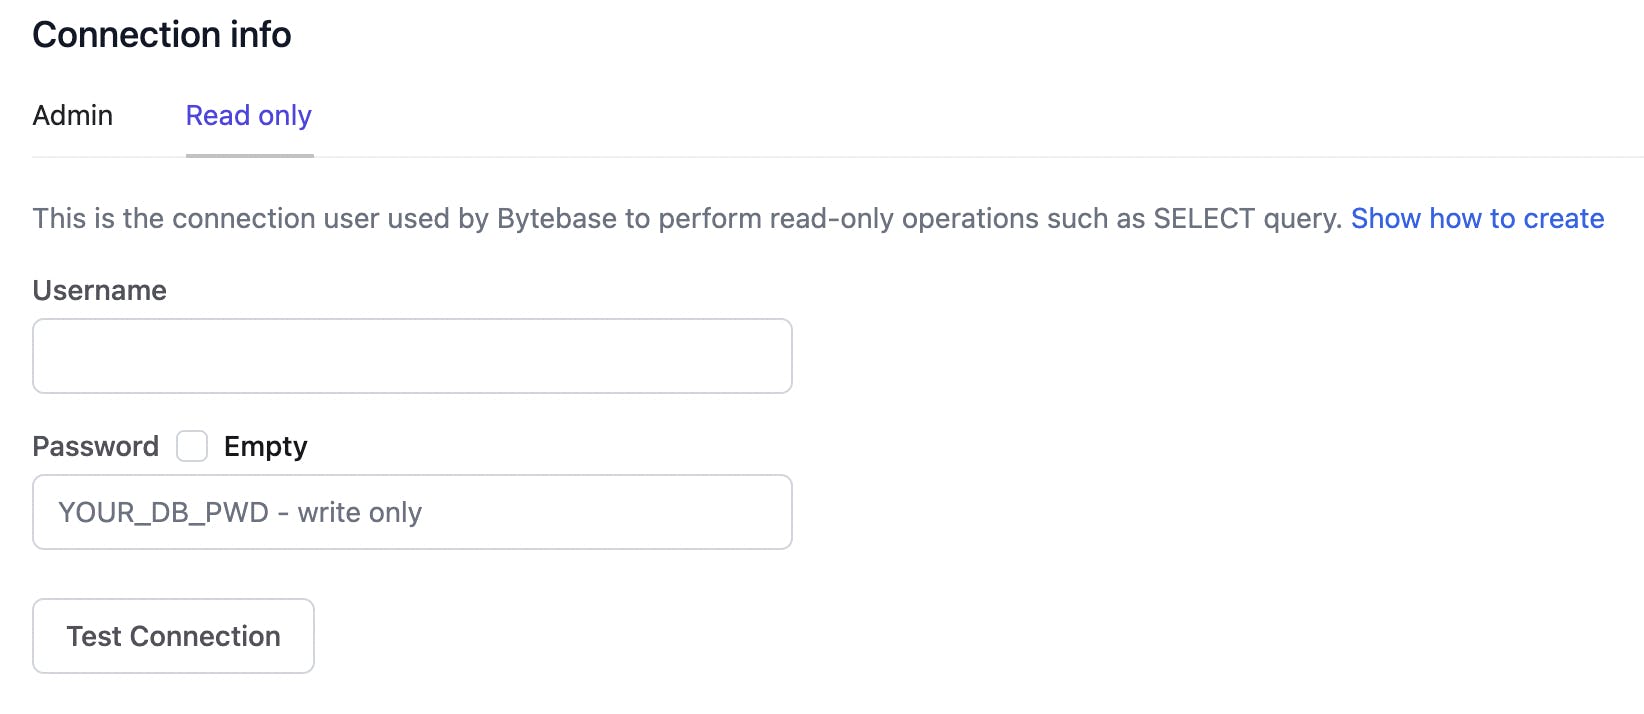
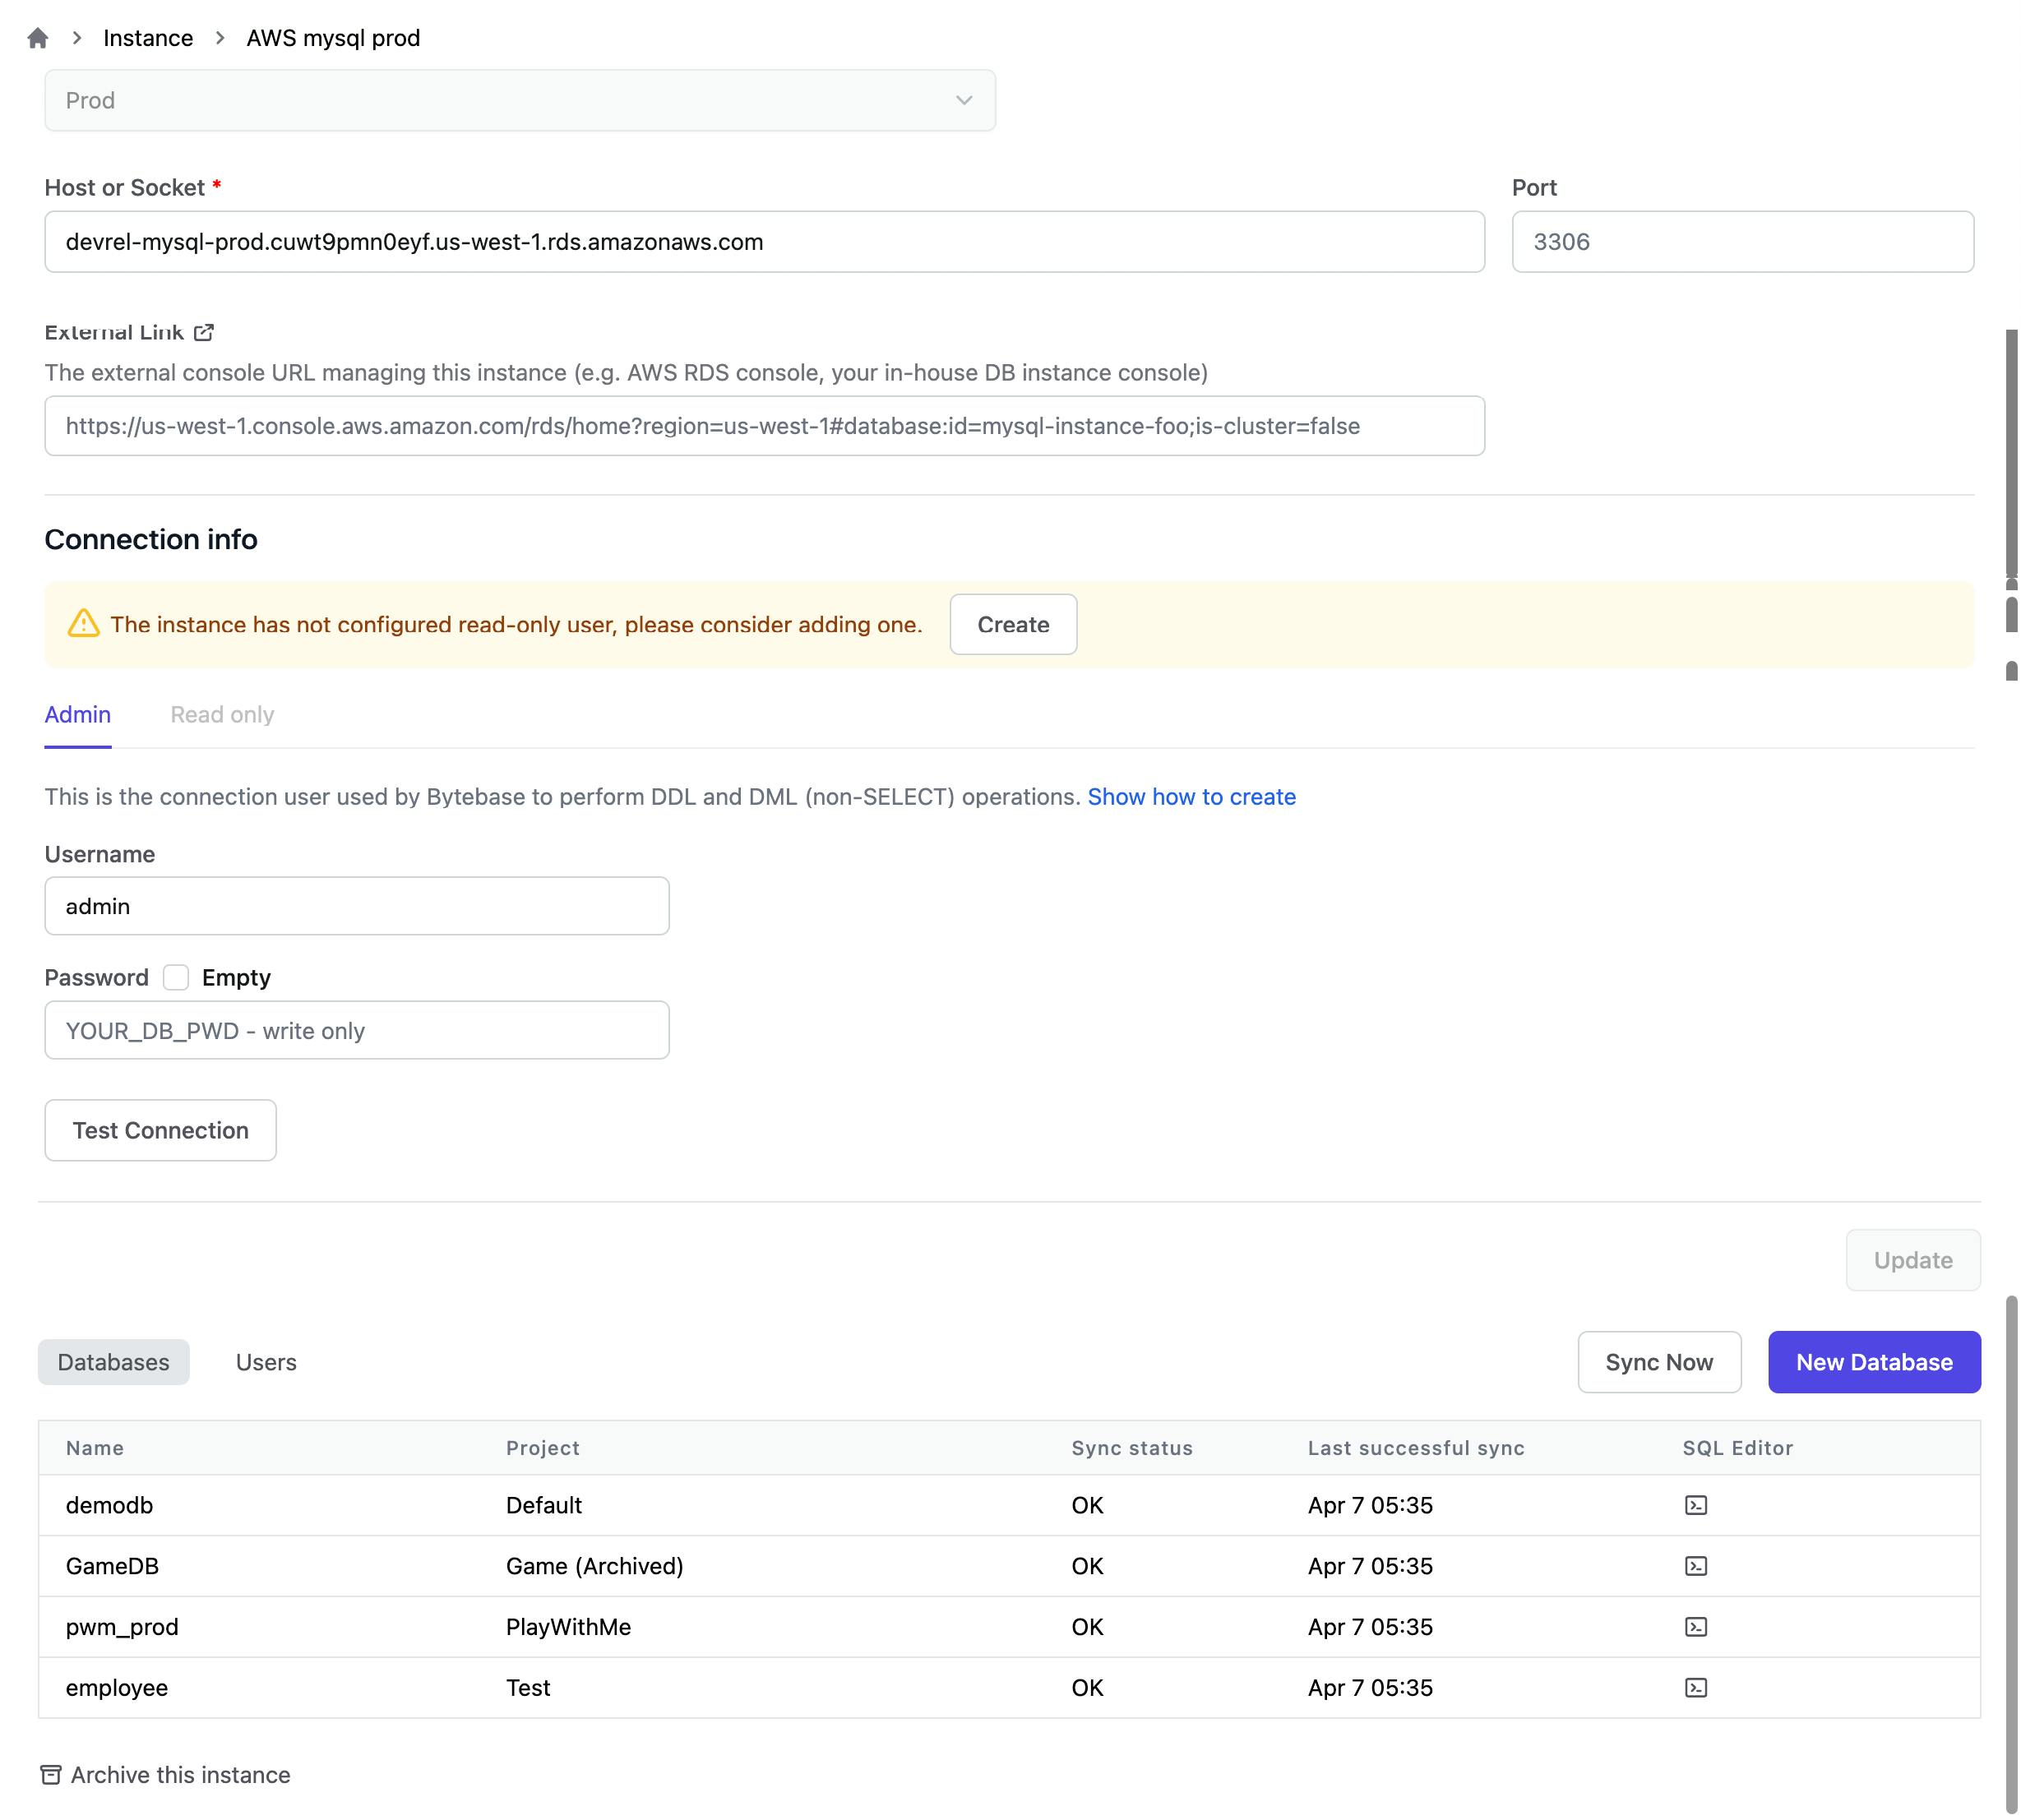 Tips: for security, you can create read-only users of the instance to avoid accidental operations.
Create a new project
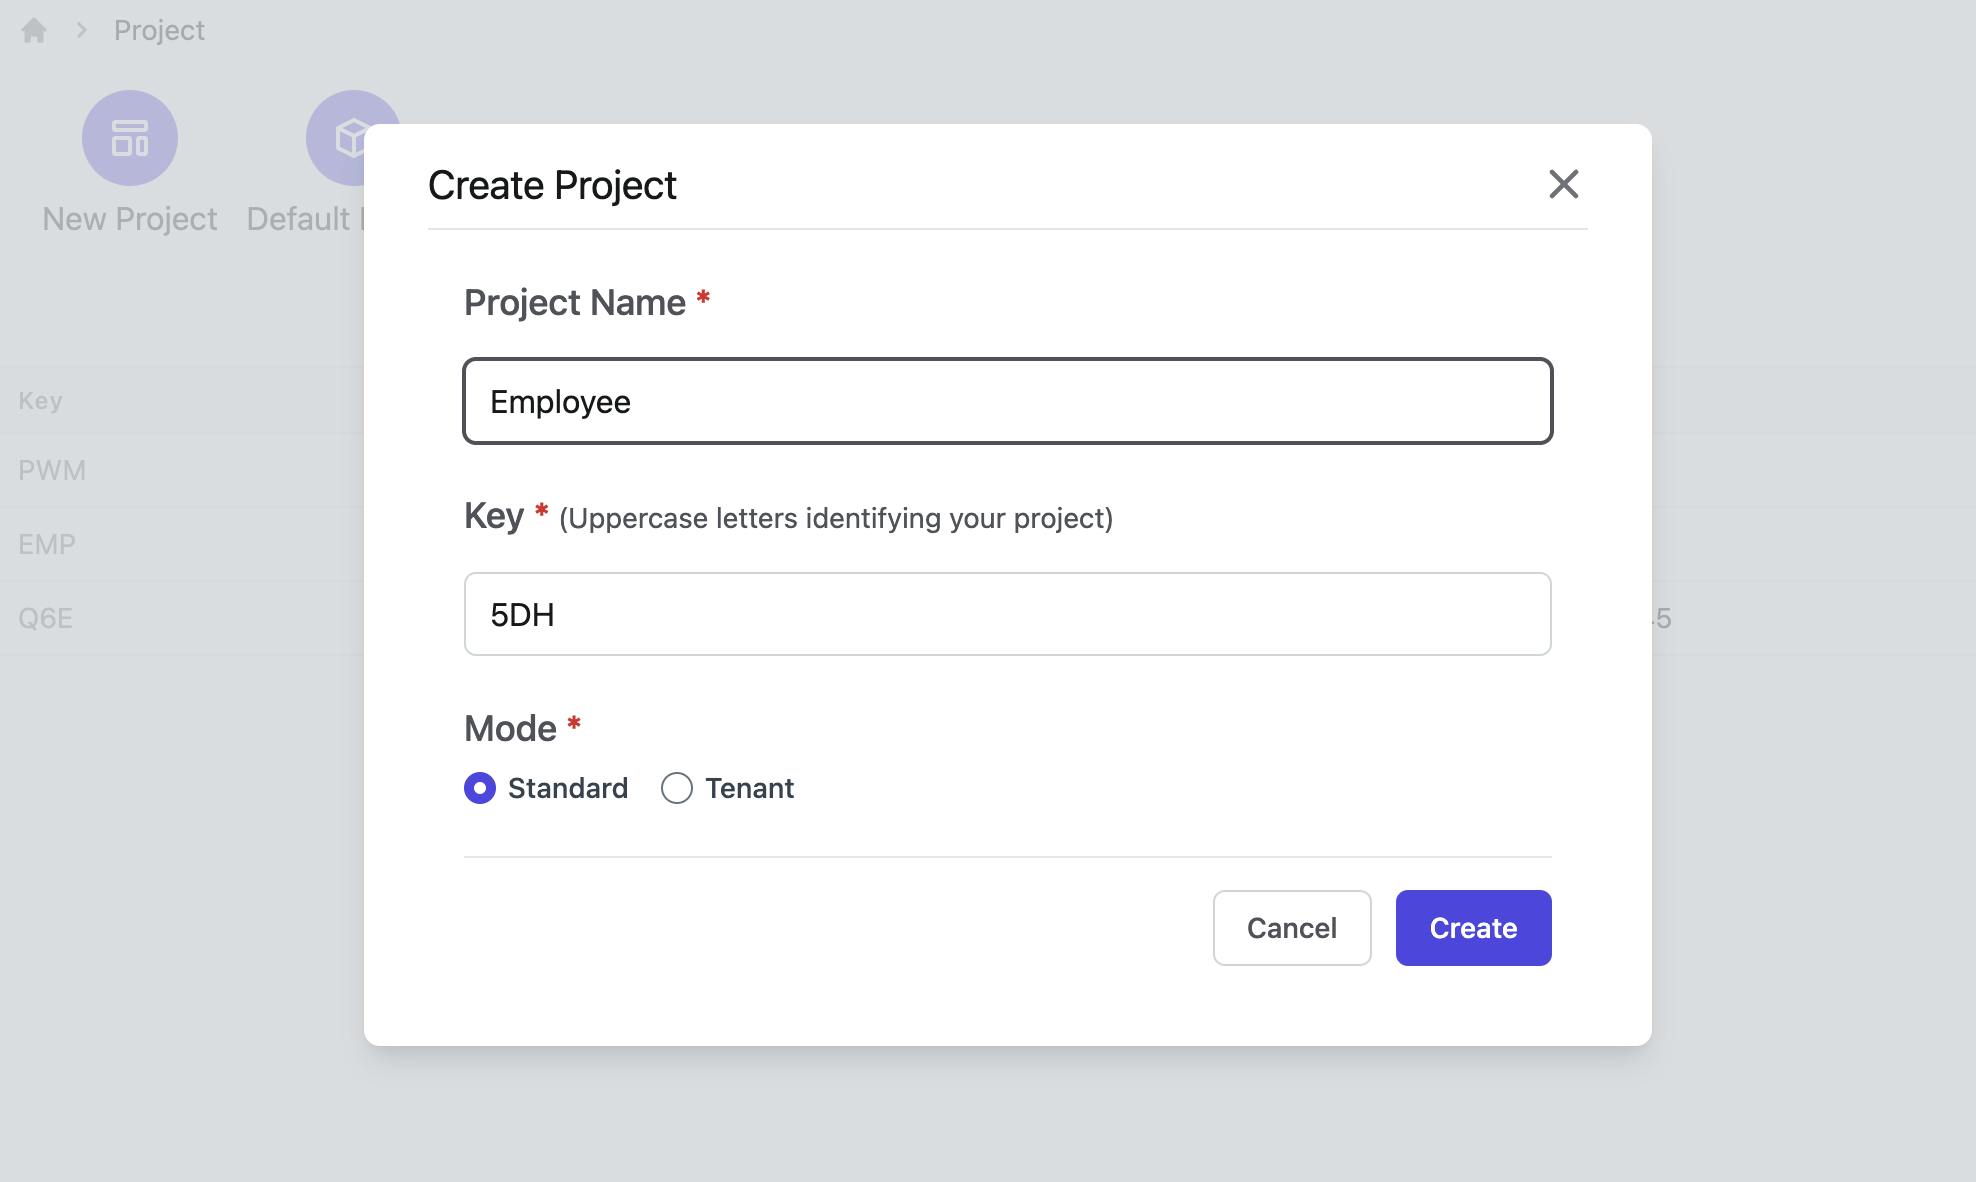
Click the "Projects" button and choose "New Project" to create a project named "Employee."
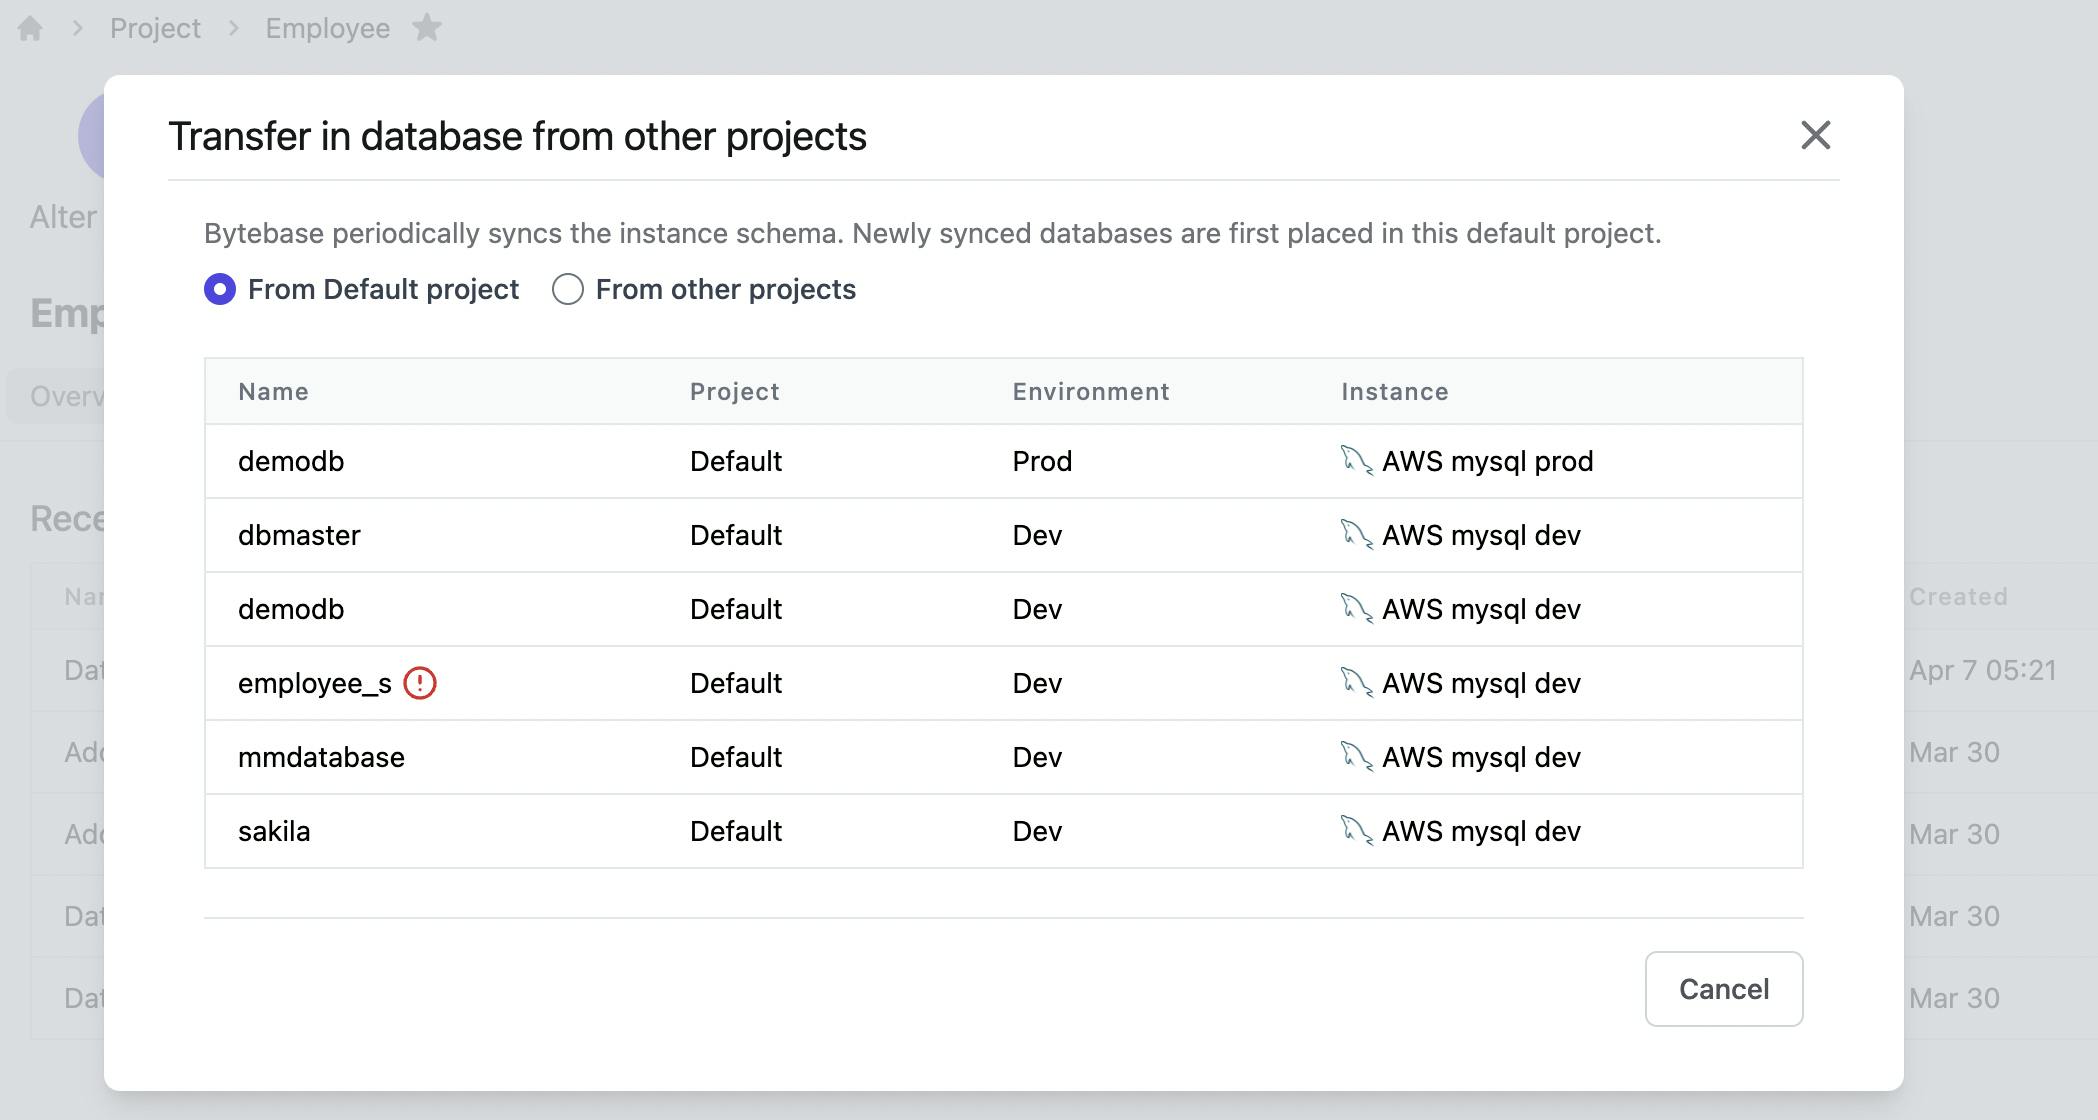
 Enter the project panel by clicking its name. Click "Transfer DB", and select the database you want to import from the instance to connect it.
 You can also click "New DB" to create a new database for the project.
 Now you can set roles in this project by entering the "settings" panel. Click "Add Members" to choose your project members and assign roles to them. There are only two roles in a project. As an owner, you can assign roles to project members. A developer is not capable of doing that.
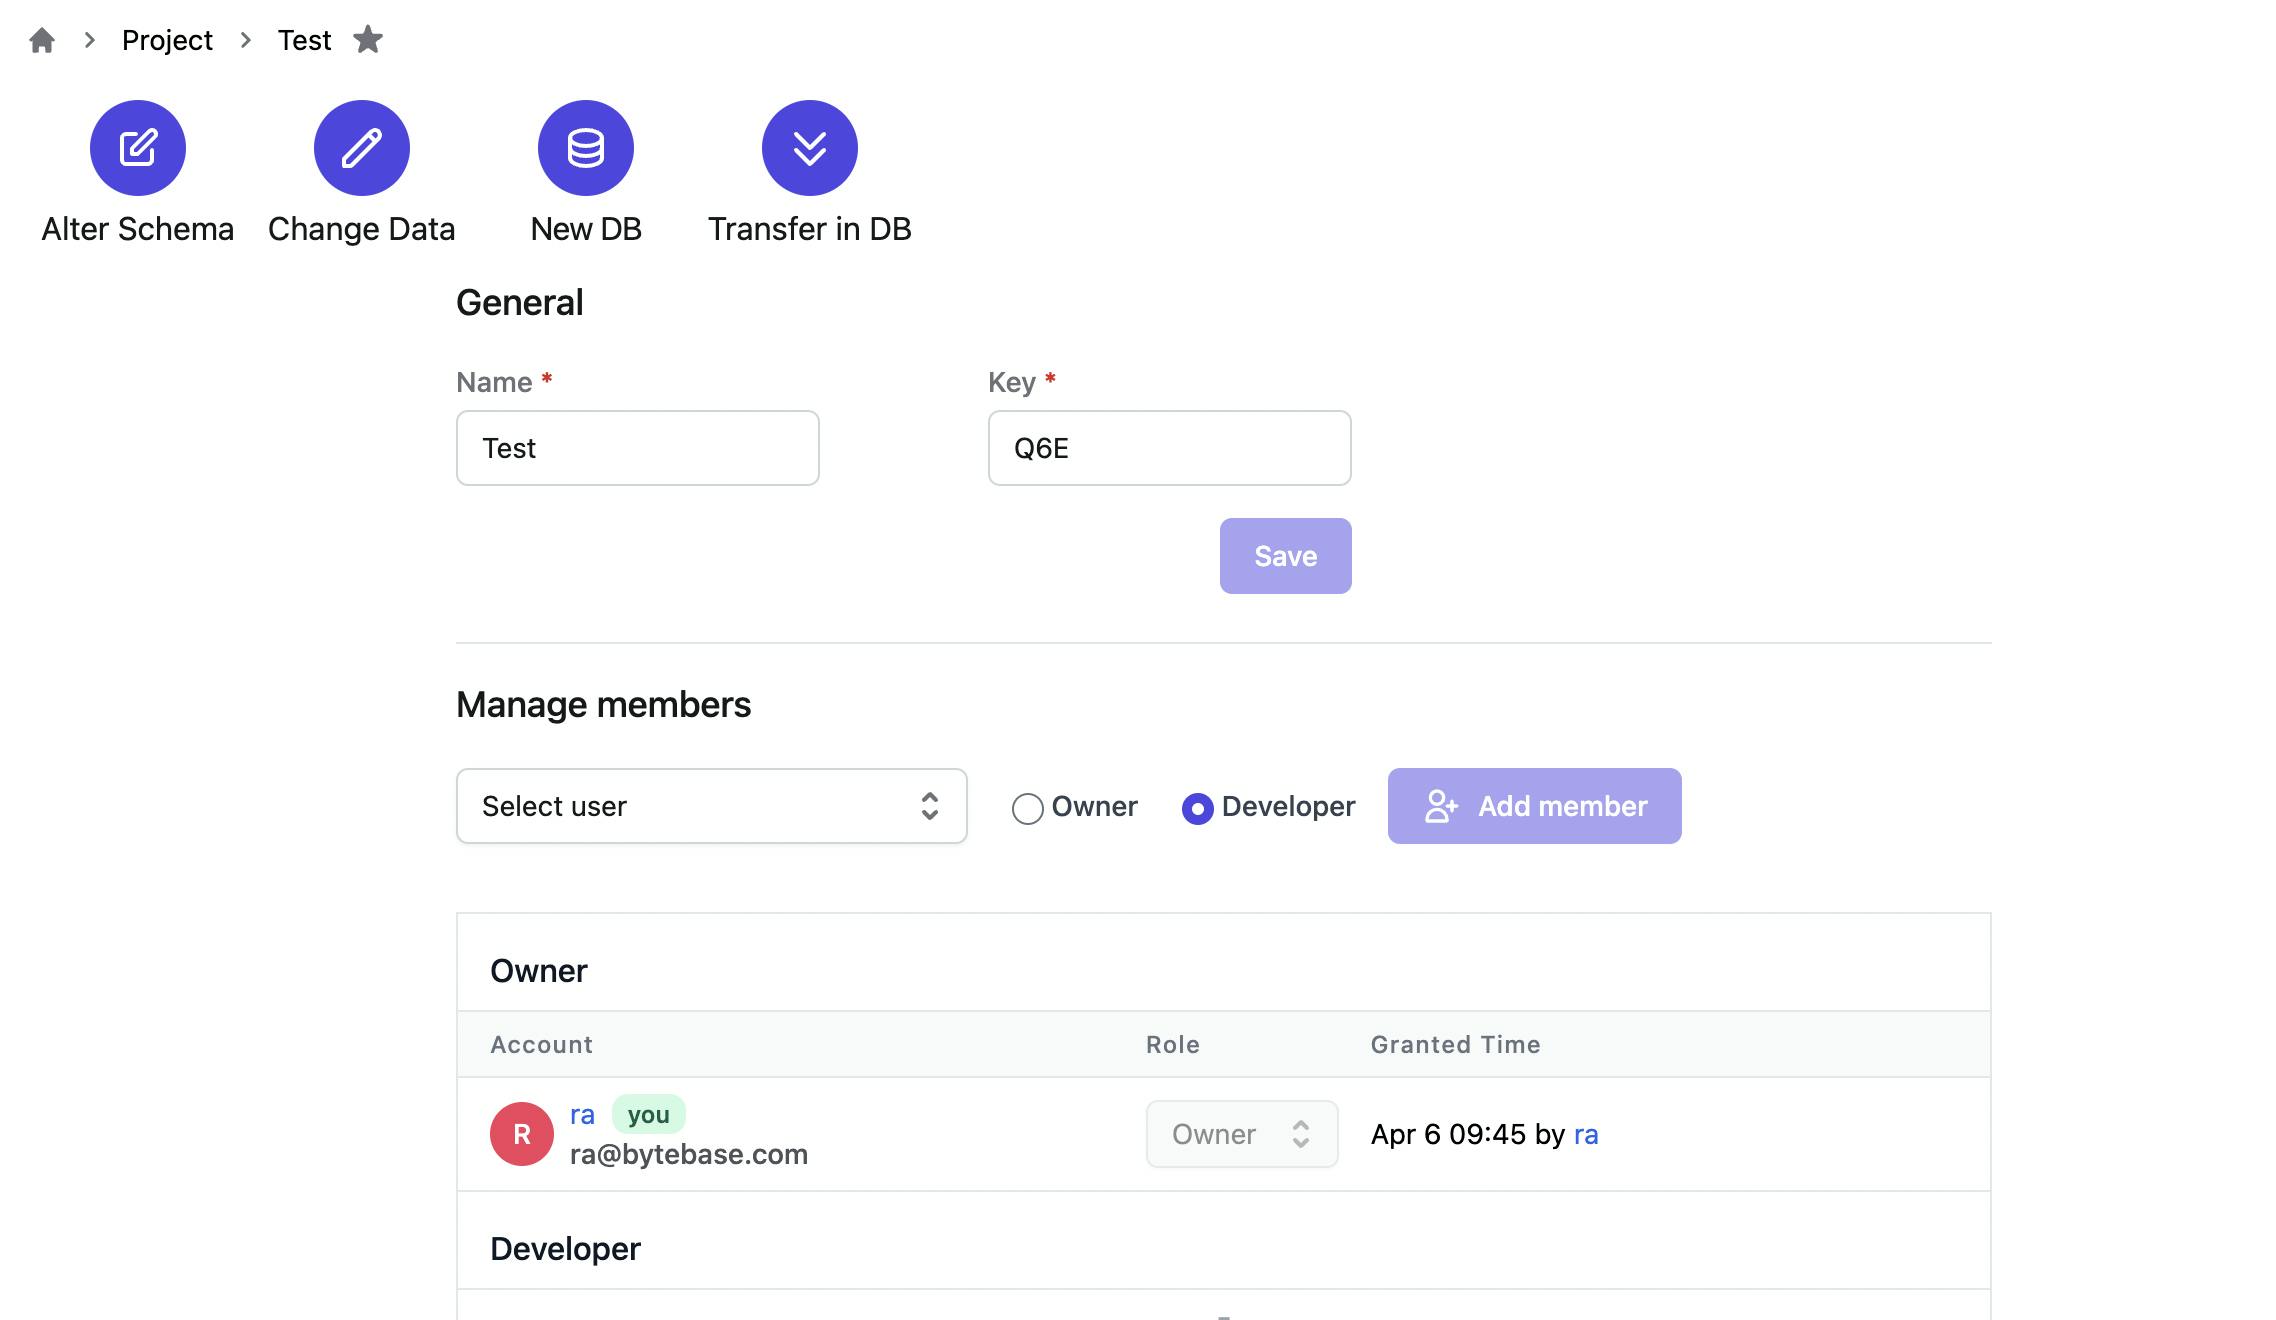 Also, you can use the bookmark to save frequently visited projects or instances.
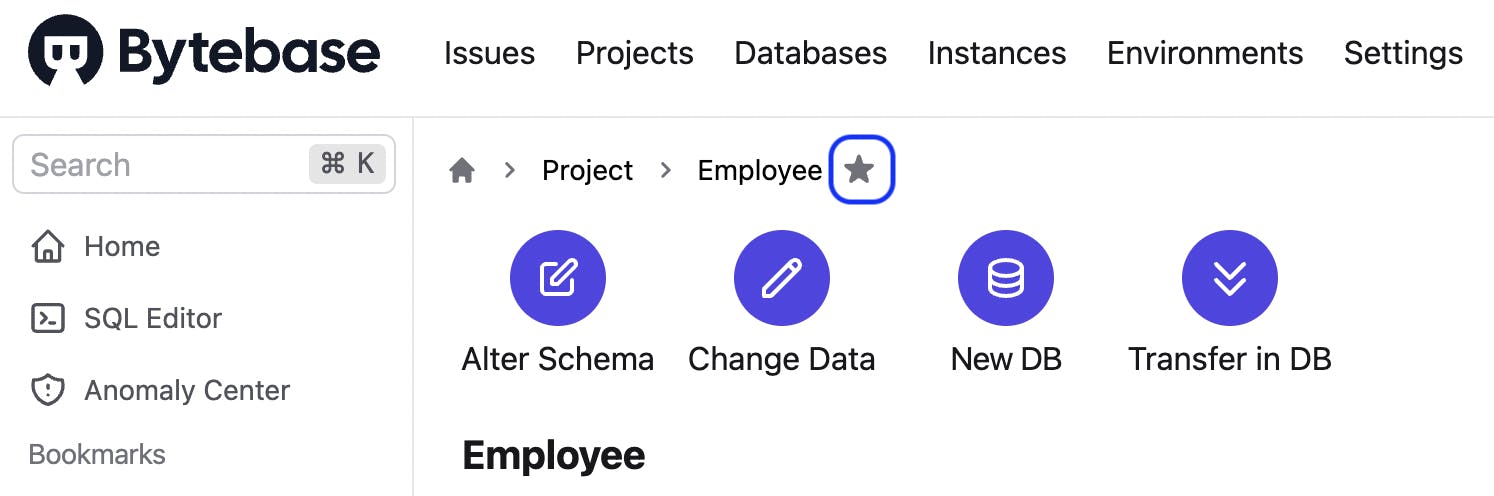 Add an instance, a project or a database to the bookmark list by clicking the star.
Use k-bar to navigate
Press Command+k anywhere to call k-bar if you want to find an environment, an instance, a project, a database or a feature directly. You can use the search box or click the tags to get whatever you need.
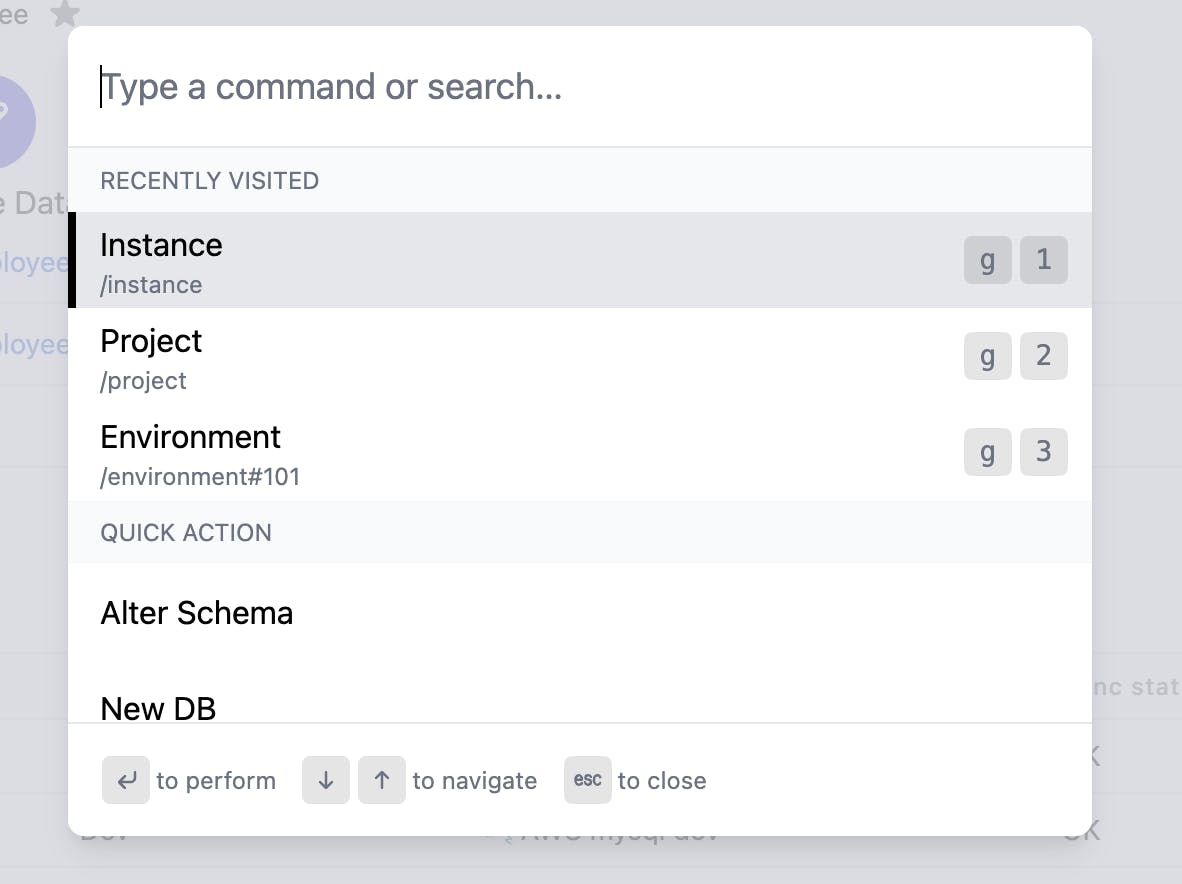 k-bar also presents the hotkey for each path. Close k-bar to use those hotkeys.